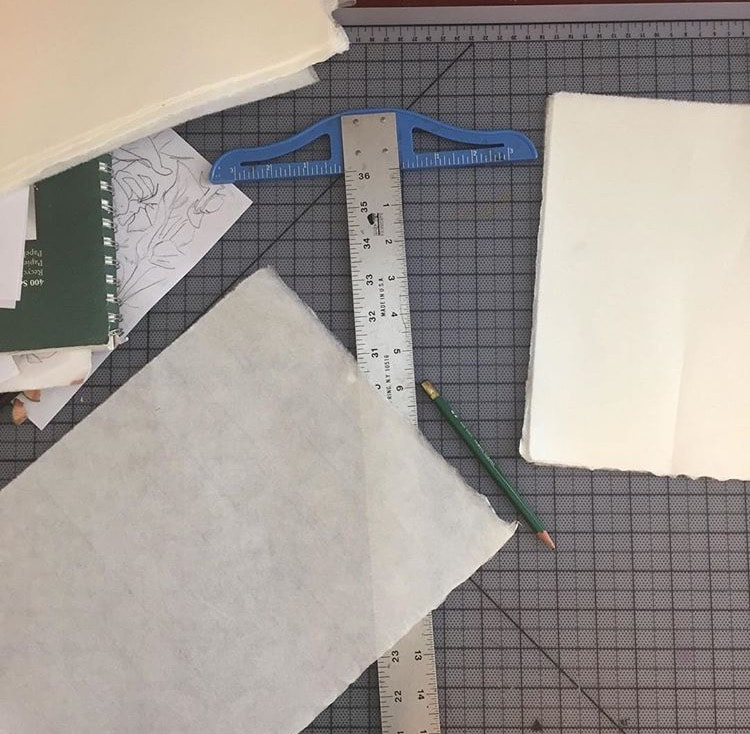
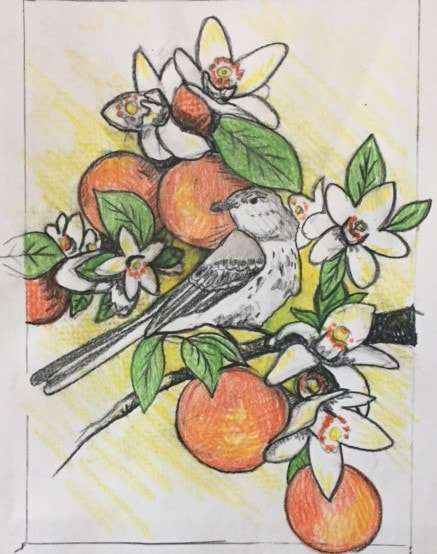
 I often get asked how I create my work, as it's not your typical paint on canvas. I'm a printmaker, and not many people know what that term means. Essentially printmaking is the art of multiples. It encompasses a lot of different techniques, but I'm just going to be talking about one, relief printmaking. Also know as woodcuts and Linoleum cuts, relief printmaking is one of my favorite techniques. I really fell in love with woodcuts when I was in graduate school, and I'll be giving you a step by step of how I create original fine art prints!! There is a lot of prep work involved in printmaking before the actual printing occurs. Once I've come up with an image I want to print, know its size, and know what size paper I'm going to print on, I start by getting my paper prepped and set up. (The example I will be using is a 5" x 7" image, printed on 8" x 10" paper.) There are so many different printmaking papers out there, I would definitely try as many as you can to see what you like. Masa is a great lightweight started paper, that I use often. Mulberry, kitakata, and Goyu are some of my other lightweight favorites. Hands down my favorite heavier paper for the price, is Canson Edition printmaking paper. Stonehenge, Somerset, and Reives BFK are great too. If your feeling extra special and what to splurge I recommend Pescia, and Hahnemuhle papers.
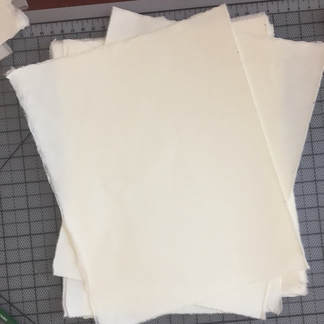
Because of the way a lot of these papers are made, they have a natural deckle edge. Instead of just cutting your paper down to size with scissors, or an xacto knife, I use a T-Square and tear the paper along the straight edge to give it that deckle look all the way around. Here I've torn larger sheets of Goyu paper down to 30 8" x 10" pieces.
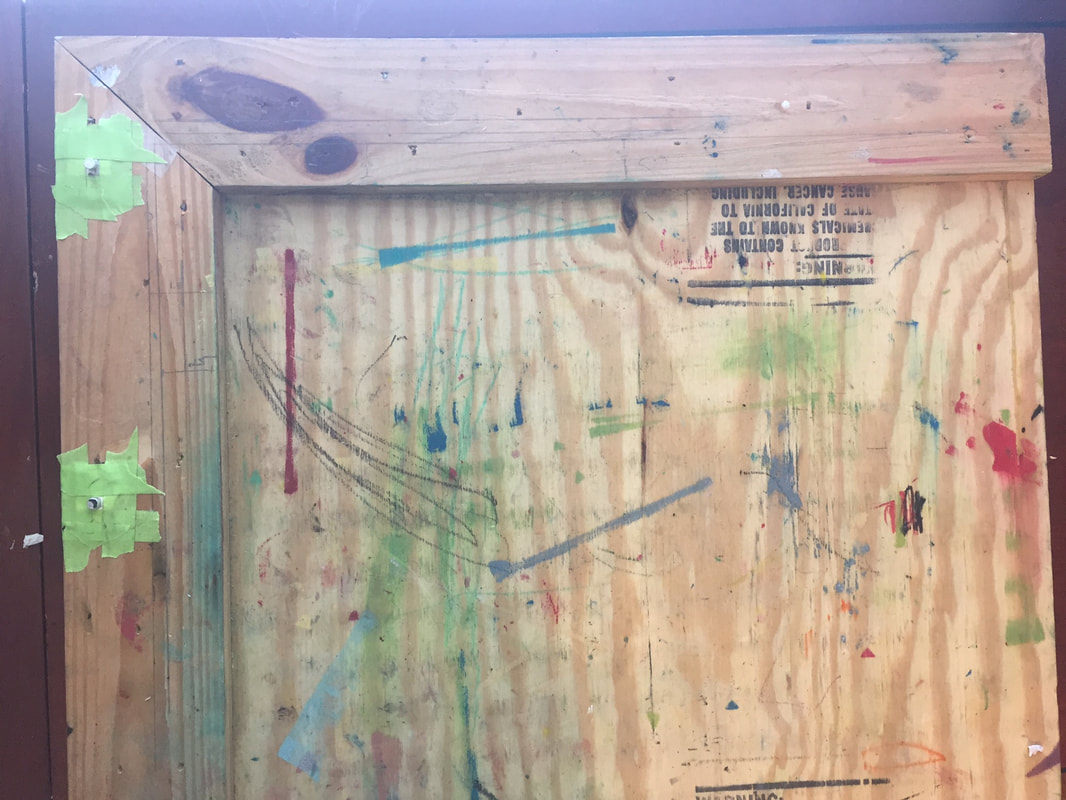
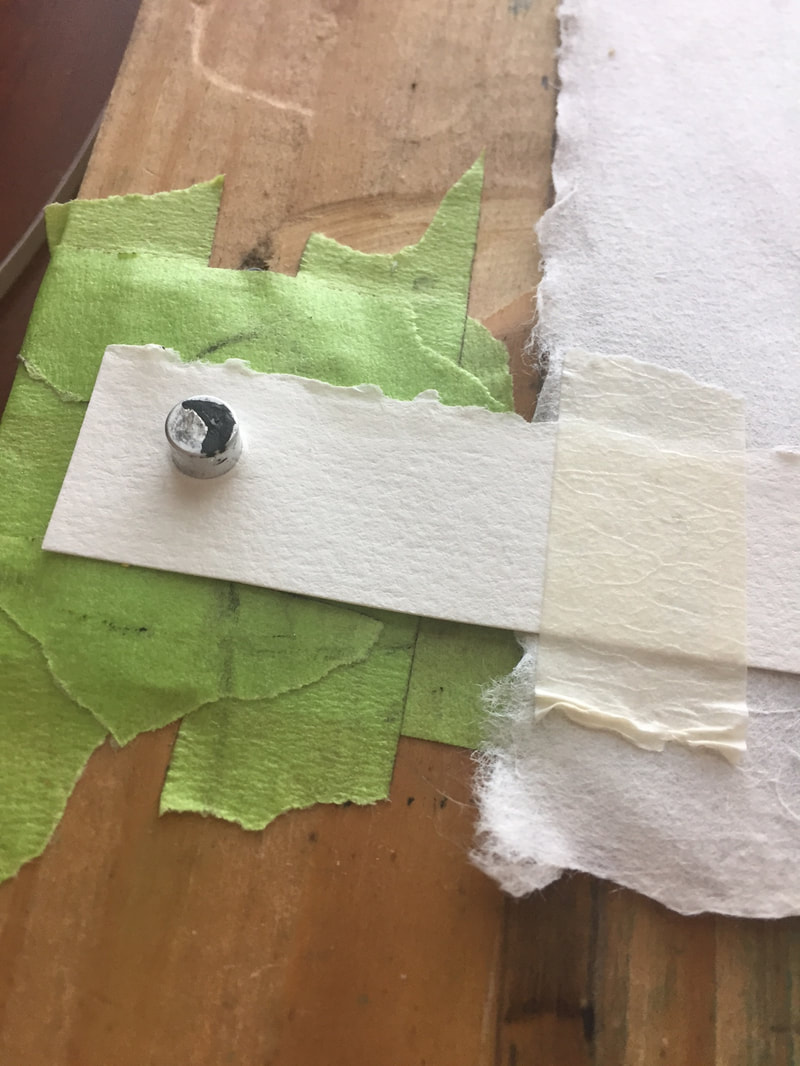
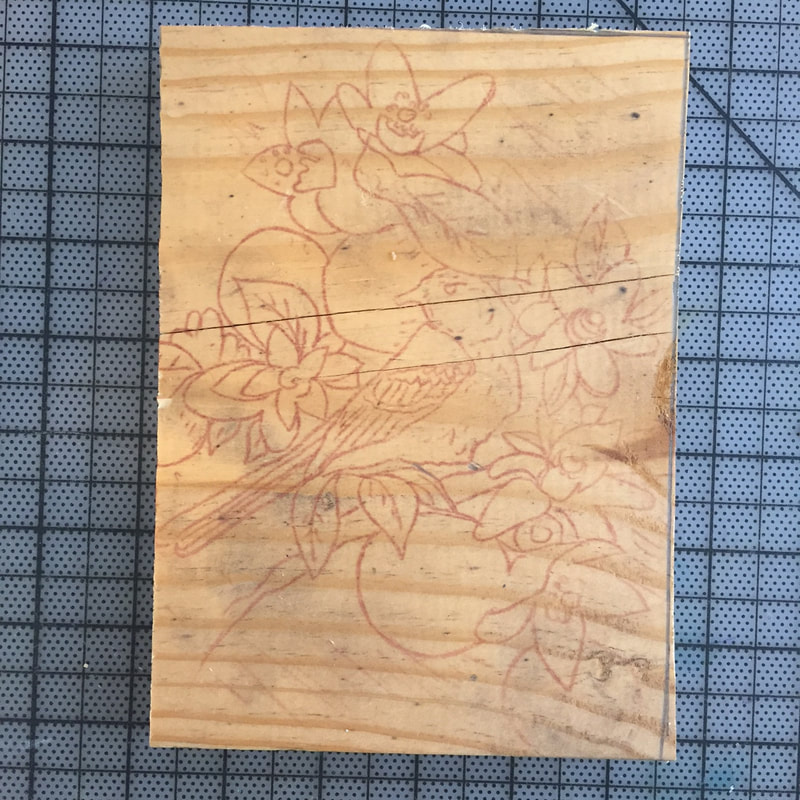
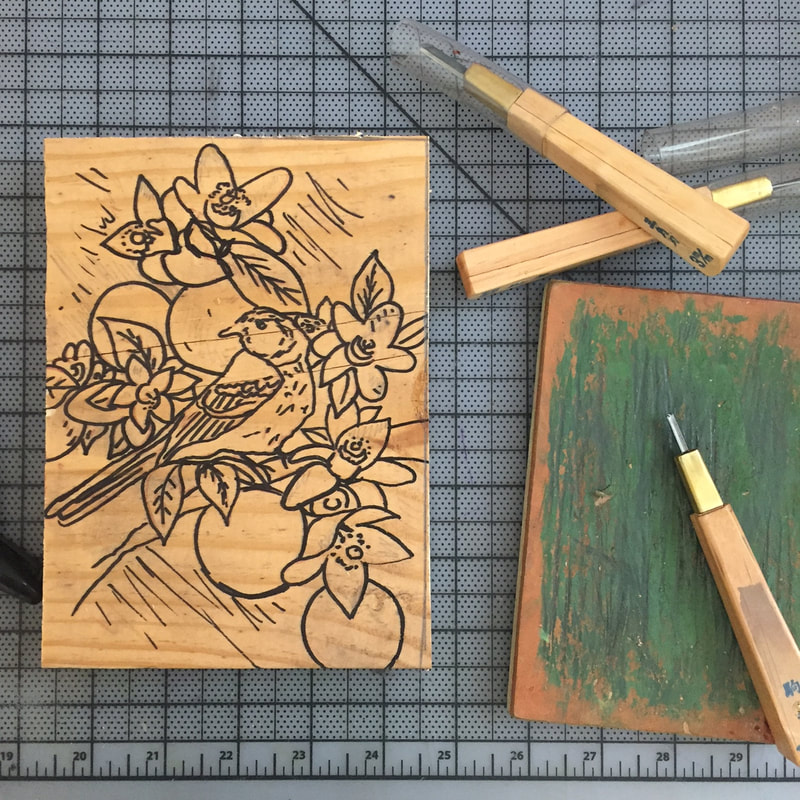
This helps keep my image lined up each time I place the paper down. I've cut down my wood to the size of image. I'm using pine to carve on, as Its readily available, and pretty cheap. I have also used birch, poplar, and MDF. Pine is a fairly soft wood and easy to carve. It also has a distinctive grain pattern, which can be incorporate into your image depending on the look you want to achieve. I also usually do a color pencil sketch to act a guide while carving. This print is going to be a woodcut. The difference between a woodcut and Linocut is simply the "matrix" or block your using. Linoleum is much softer and easier to carve than wood. You can carve linoleum in any direction, and don't have to conform to the grain pattern on the wood. I often work with both, each has its own pros and cons, so definitely experiment with each.
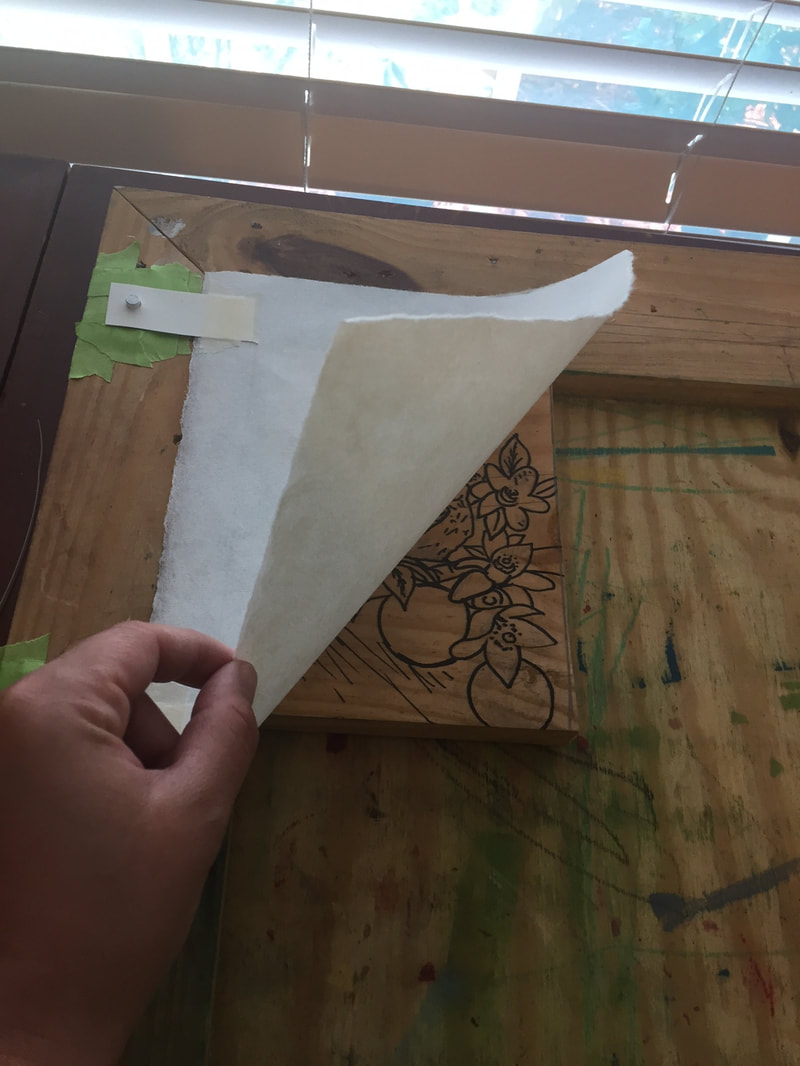
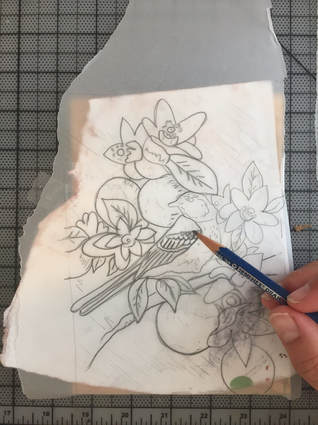
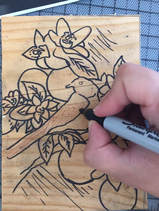
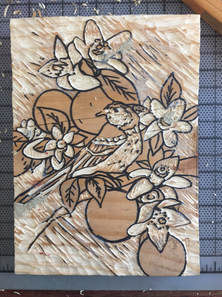
As a printmaker, tracing paper has become my best friend. I pretty much use it for everything, but most importantly it's great for reversing and transferring your image. You don't have to reverse your image, but just remember it will print backwards. I have a piece of transfer paper in between the block and tracing paper, that I use to transfer the image. I then re-trace the image in sharpie so it won't fade away. Once you've got the image on the block your good to go. You can start carving away all the areas you want to remain white (or the color of the paper you are using) Relief printmaking works off the principal that anything below the surface will not receive ink, and therefore will not print.
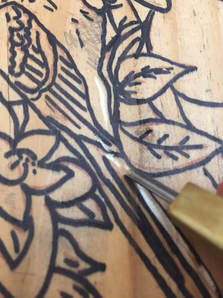
Once this is all done, comes the fun part- the carving. Its tricky to carve against the grain of the wood but it can be done. Just remember not to carve toward to hand in case the chisel slips, you don't want to cut yourself. and just in case you mess up wood-filler is a great little trick to fill in those areas you didn't mean to cut.
Next you'll want to mix up your first color. I started using Akua waterbased inks a couple years back after I started working out of my home, and didn't want the smell of mineral spirits and solvents in the house. Overall its a pretty good ink with just a few drawbacks. 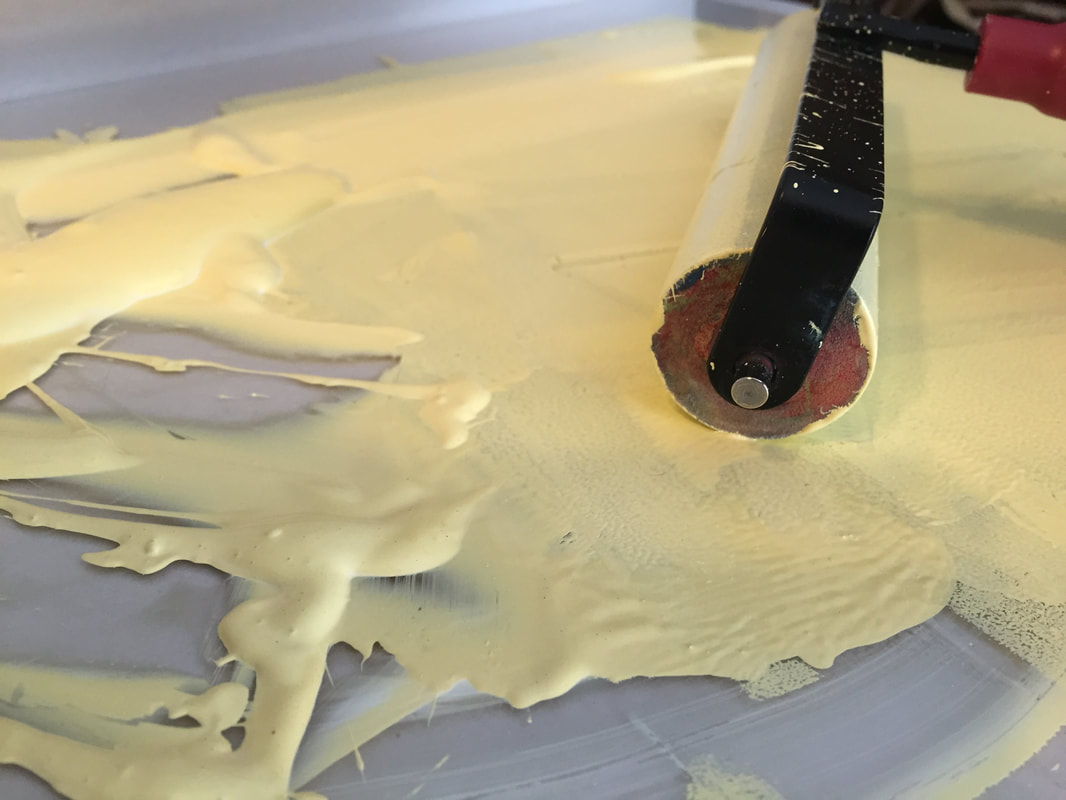 I hope this helps get you started. I'll be covering inking and printing more in Part 2 Be sure to follow @kristinahooverfineart for more behind the scenes look at my woodcut process, and visit my online shop for available prints I've created
0 Comments
Your comment will be posted after it is approved.
Leave a Reply. |
AuthorHi I'm Kristina, a printmaker, artist, and SAHM to two little ones. ArchivesCategories |
 RSS Feed