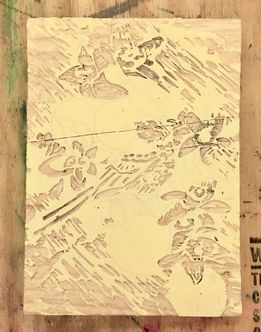
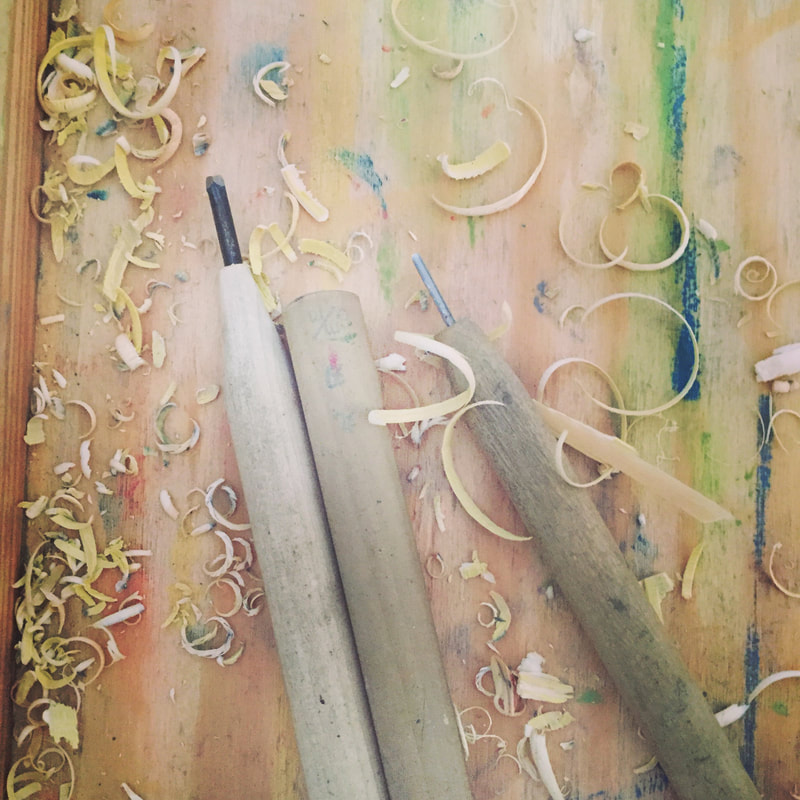
 In Part 1, I talked a lot about all the prep work involved in printmaking- the setting up and preparing to print. Part 2 will explore the reduction process I use. Reduction Printmaking uses one block of wood to print multiple colors in different stages. I start with the lightest color first, then carve or reduce the block color by color until the image is complete. Once your image is on the block and all your paper is registered, its time to begin carving. In reduction printmaking you print from lightest to darkest, so its best to figure out the order of your colors ahead of time.
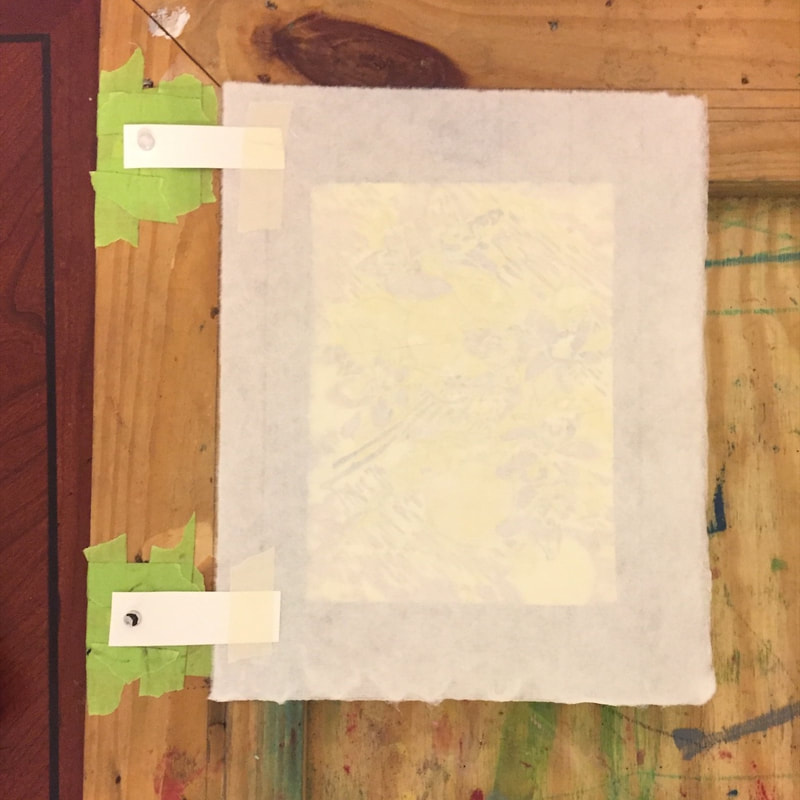
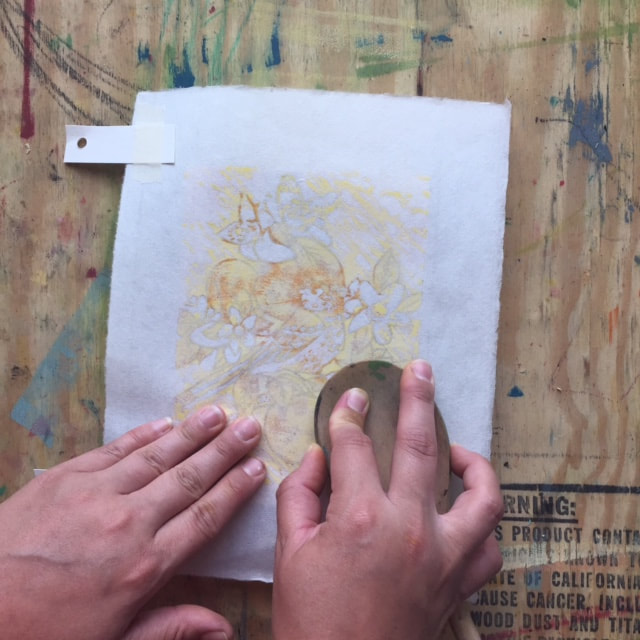
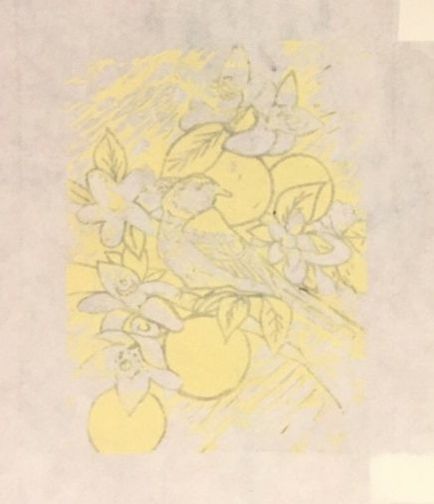
First I carved away everything I want to remain white in the print. (along with any area I don't want to print.) I then started with my lightest color (which happens to be yellow) I used a brayer to roll the yellow ink across the surface of the block. Everything I carved away is below the surface, and will not be inked. It remain the color of the paper. I then place my inked woodblock in my registration jig, grab a piece of paper, and push the tabs on first, then allow the paper to fall over the surface of the inked block. Next, I give the back of the paper a quick rub with my hand so it sticks to the ink and is less likely to slip once i move it. I then take off the tabs and gently slide the block out of the corner of the jig. From here, I use a wooden spoon to rub the back of the paper and print the first color in the image. You can also transfer the block and paper to a printing press if you have one. Just be careful not to shift of move the paper. 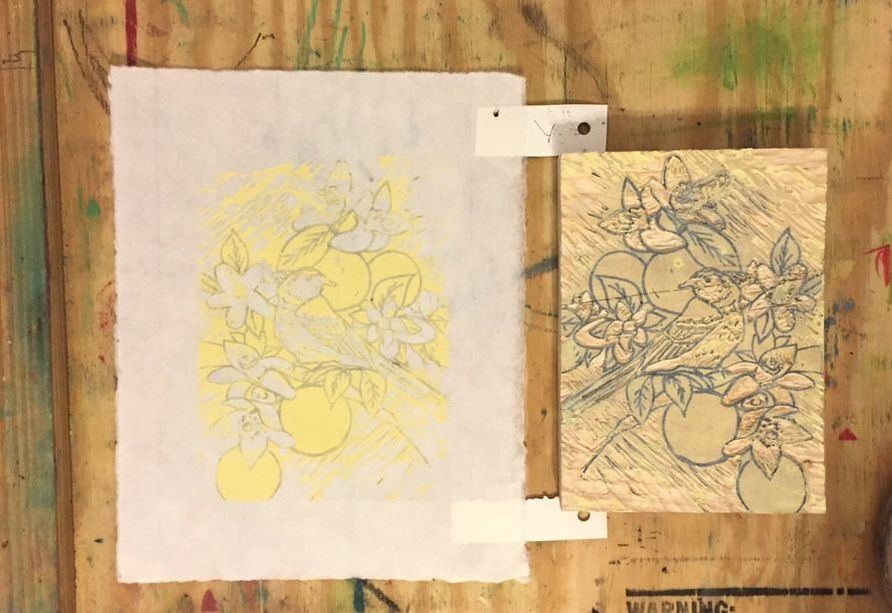 Continue printing your first color on all your registered papers. Sometimes the sharpie marks can transfer while printing your first color. Don't worry about this, they will get covered up by the end. After you have printed your first color, you'll want to clean the surface of your block. From here you can start to carve away all the areas you want to keep yellow in the print. (or whatever color you just printed)
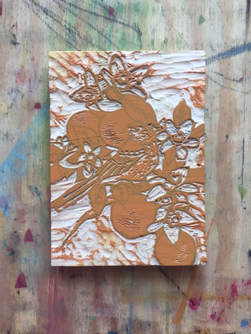
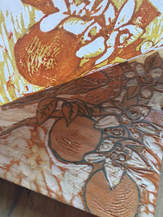
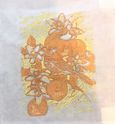
After all the yellow is carved away, and the yellow ink is dry on the paper, you can continue onto your next color. I'm printing orange next. You will follow the same process. Mix up your next color of ink, roll it on the block, place block in jig, and put paper on, and print.
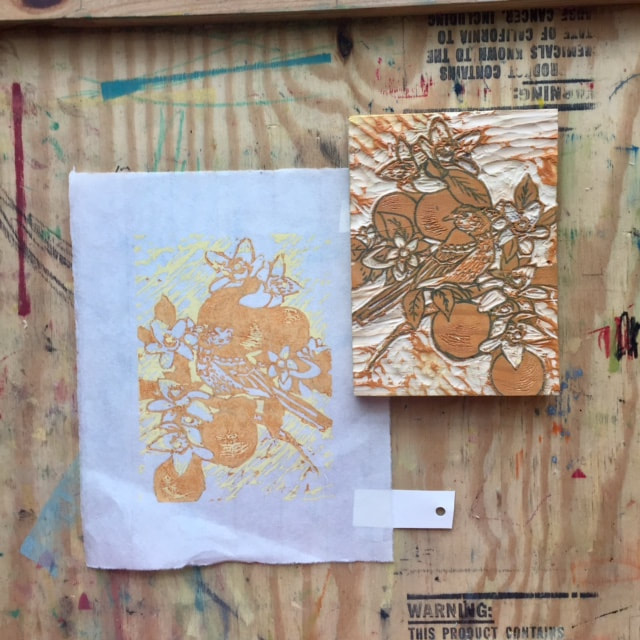
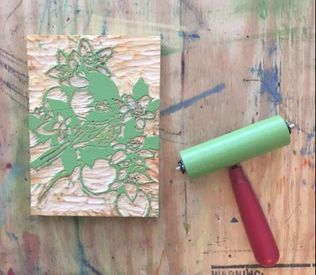
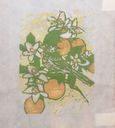
After my second color is printed on all my paper, I carve away everything I want to keep orange in the print. I then continue onto my next color- green. Continue to follow the same steps- carving, inking and printing until your done. ts that easy! I would say the hardest part in the reduction process is making sure your registration is accurate. Try your best not to shift the paper while printing, or moving the block.
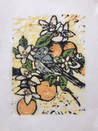
Your image will start to appear as you build up the layers of ink. With reduction printing, once its gone, its gone! There is no going back and fixing your mistakes, or printing anymore images once your done. So if you want to make 10 prints, 30 prints, or 100, you need to print them all at the same time. 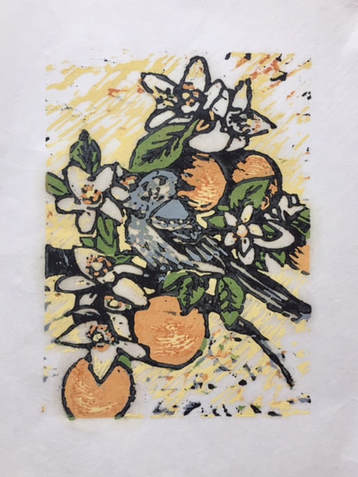 Don't be discouraged if your print doesn't look exactly like your original sketch. Its not suppose to! That's the fun of printmaking- how the image gets translated with the ink and wood. You'll see your image come to life print after print. You really don't know what the final print looks like until your done.
Reduction woodcut printmaking may, or may not be the thing for you, but it's worth a shot. I absolutely love it! I hope you found this information helpful in getting you started. I also hope you see how unique this art form is; It's truly a labor of love, and nothing beats its unmatchable look. You can see more work in progress on Instagram @Kristinahooverfineart Shop Available work online, and find me around town at local markets!
0 Comments
Your comment will be posted after it is approved.
Leave a Reply. |
AuthorHi I'm Kristina, a printmaker, artist, and SAHM to two little ones. ArchivesCategories |


 RSS Feed